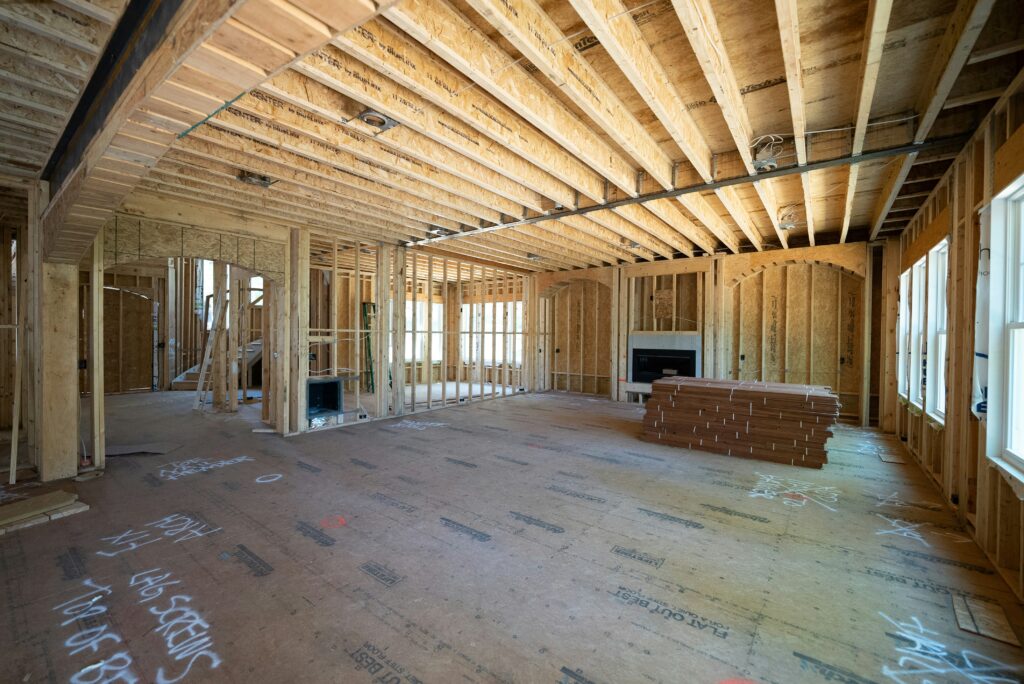
Photo by Samuel Cruz on Unsplash
Moisture beneath your home can lead to musty odors, damaged insulation and unhealthy mold growth long before you notice an obvious puddle. Because a crawl space sits out of sight, small leaks and humidity problems may continue for months. Regular inspections and timely repairs can protect your indoor air, flooring and structural supports from avoidable damage.
Here’s how to spot trouble and build a repair plan that addresses the source instead of covering up the symptoms.
Recognize the Early Warning Signs
A musty smell is often the first clue that excess moisture has reached the crawl space. You may also notice uneven floors, higher indoor humidity or allergy symptoms that improve when you leave home. Down below, common signs include damp wood, hanging insulation, condensation on ducts and white mineral deposits on masonry.
Check the area after several days of rain, if it’s safe and accessible. Use a flashlight to look for standing water, dark staining and plumbing drips. Avoid disturbing visible growth or damaged insulation. Photograph what you find and note where each issue appears, since that record can help a qualified contractor trace the moisture back to its source.
Know When Professional Repairs Make Sense
A minor plumbing drip may have a simple fix, but widespread moisture usually needs a closer look. Call a professional if you see sagging floors, soft wood, persistent standing water or growth covering a large area. These symptoms can involve drainage, structural supports and indoor air quality at the same time.
Homeowners in Hampton Roads who are dealing with high humidity, wet insulation or related damage can explore professional crawl space repair options that address waterproofing, insulation and moisture control. Ask for an inspection that identifies the water source and explains each recommended repair. A useful proposal should separate urgent structural work from preventive improvements and provide clear details about materials, warranties and future maintenance.
Stop Water Before It Gets Inside
Successful repairs begin outside the house. Clean clogged gutters and confirm that downspouts discharge several feet away from the foundation. Soil should slope away from the home so rainwater doesn’t collect beside crawl space walls. Low spots near the foundation may need to be filled and compacted.
Inside the crawl space, the correct solution depends on how water enters. A plumbing leak needs direct repair, while groundwater may call for an interior drainage channel and sump pump. Wall seepage could require sealing or waterproofing work. Check any pump during dry weather by adding water to the basin, then confirm that the discharge line carries water safely away from the foundation.
Control Humidity and Ground Moisture
Even without standing water, exposed soil can release a surprising amount of moisture into the air. A durable ground vapor barrier helps limit that movement. The material should cover the soil fully, overlap at seams and fit neatly around piers and service lines.
Some homes benefit from full encapsulation, which extends the barrier up crawl space walls and seals outside air openings. A properly sized dehumidifier may then keep relative humidity within a safer range. The Department of Energy guidance on unvented crawl spaces explains why air sealing, drainage and insulation need to work together. Monitor humidity with a digital meter and have the system checked if readings remain above 60 percent for extended periods.
Repair Damage and Prevent a Repeat
Drying the space comes before replacing damaged materials. Wet fiberglass insulation can sag, trap grime and lose effectiveness, so it may need removal. Wood supports should be evaluated for decay after the moisture source has been corrected. If floors feel bouncy or uneven, a contractor can determine if joists or support columns need reinforcement.
Once repairs are complete, inspect the crawl space every few months and after major storms. Check the vapor barrier for tears, listen for unusual pump sounds and look for fresh condensation. Keep gutters clear and replace dehumidifier filters according to the manufacturer’s schedule. A dry crawl space should stay consistently clean and neutral-smelling, even after a week of wet weather.
The best final test happens during the next heavy rain. Recheck the areas where water or staining appeared before, then compare them with your original photos. Dry surfaces, stable humidity and insulation that remains firmly in place show that the repair plan is doing its job.

Leave a Reply